
In the dynamic world of content creation and influencer marketing, the ability to produce high-quality vlogs is a crucial skill. With the advancements in technology, particularly the powerful capabilities of smartphones, editing vlogs on the iPhone has become not only feasible but also efficient. In this guide, we’ll explore how to edit vlogs on iPhone, provide the essential steps and top tips needed for content creators and influencers.
Let’s Explore How to Edit Vlogs on the iPhone:
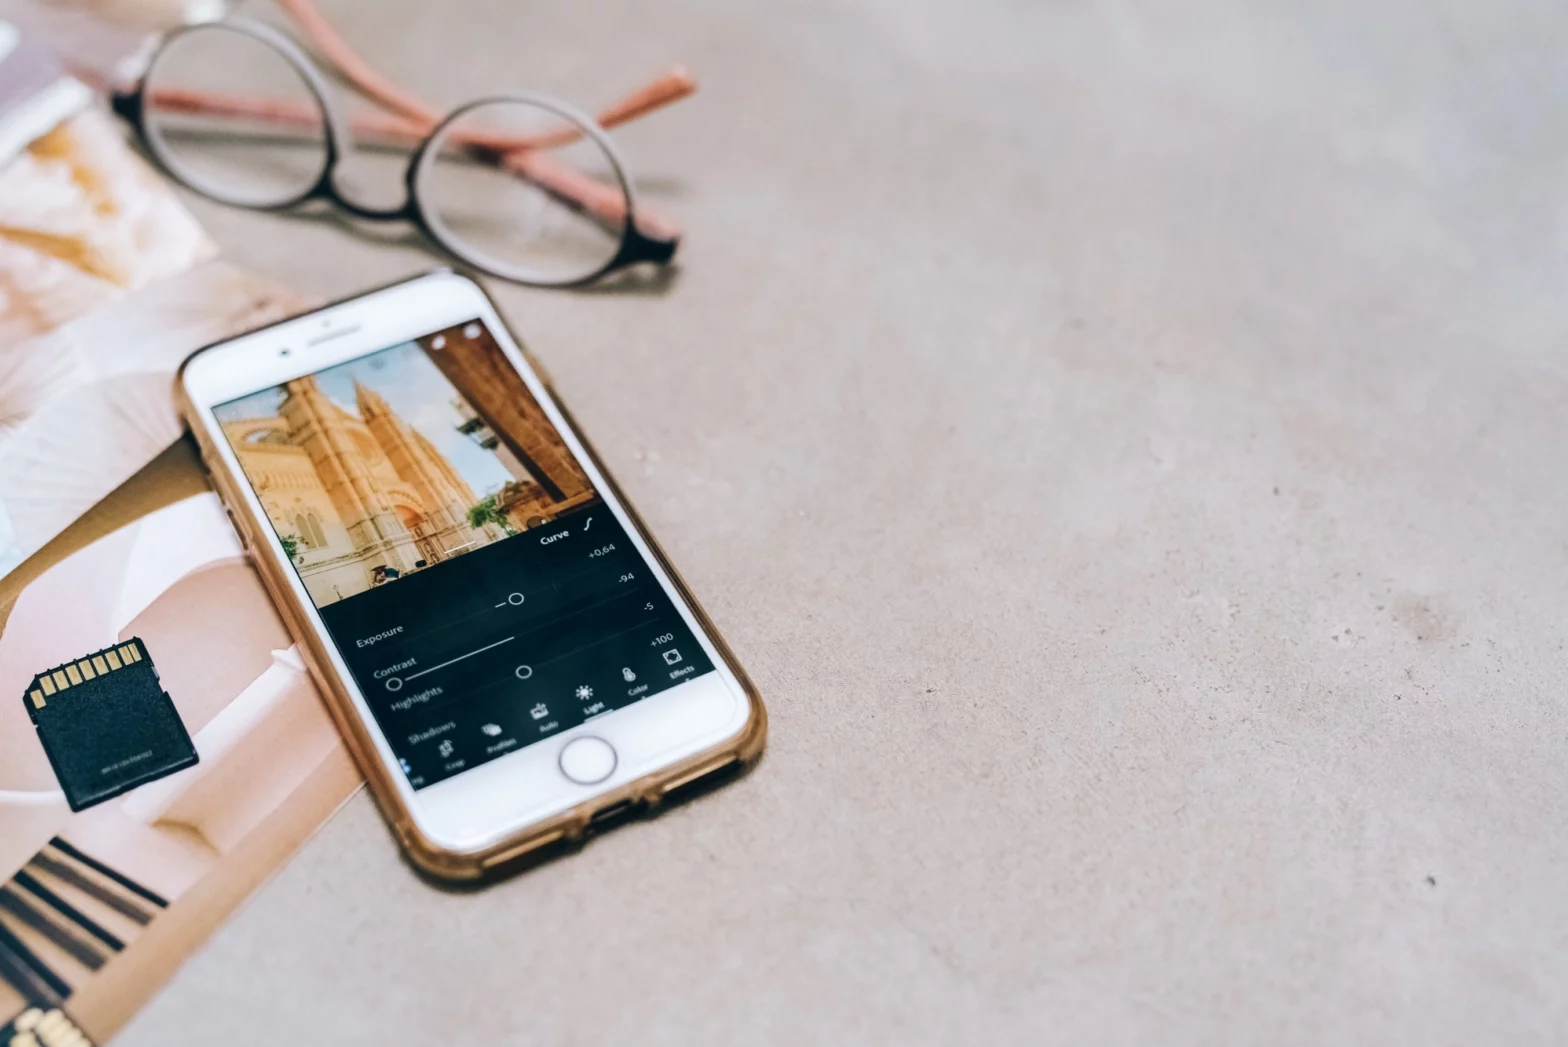
Embrace the Right Apps
To kickstart your vlog editing journey on the iPhone, choosing the right apps is paramount. Apps like iMovie and Kinemaster offer user-friendly interfaces with robust editing features. iMovie, Apple’s proprietary video editing app, allows you to easily import, trim, and arrange clips. Kinemaster, on the other hand, provides additional customization options such as multi-layer video editing and transitions. Both apps cater to different skill levels, ensuring a smooth editing experience for beginners and advanced users alike.
Selecting a phone that you can vlog with can be an important decision, we’re here to help you out! Our ‘Best Phones for Vlogging‘ guide is here to make the process easier for you.
Shoot with Editing in Mind
Before diving into the editing process, it’s crucial to shoot your vlog footage with the editing process in mind. Consider capturing more footage than you think you need, allowing room for creative decisions during the editing phase. Pay attention to framing, lighting, and audio quality to minimise the need for extensive edits later on. Well-shot footage not only saves time but also ensures a polished and professional final product.
Looking for the perfect vlogging gear? We’ve got you covered! Check out our article on ‘Essential Vlogging Equipment‘ to get you started!
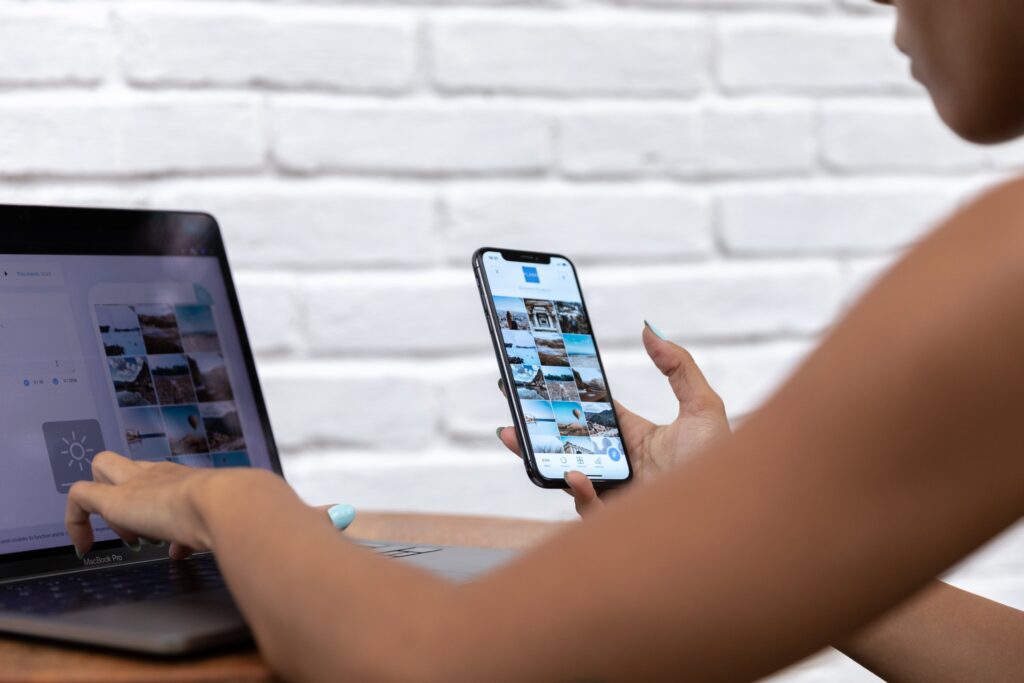
Organise Your Clips
Effective organisation is the backbone of efficient vlog editing. Before importing your footage into the editing app, take a few minutes to organise your clips. This can be as simple as renaming files or creating folders based on scenes or themes. A well-organised library streamlines the editing process and helps you locate specific clips quickly, enhancing overall productivity.
Leverage Built-in Editing Features
Both iMovie and Kinemaster offer a range of built-in editing features that can elevate the quality of your vlogs. Experiment with transitions, titles, and filters to add a professional touch to your videos. iMovie’s intuitive interface makes it easy to drag and drop these elements into your timeline, while Kinemaster’s multi-layer functionality allows for more intricate edits.
Fine-tune with Precision
For more nuanced edits, take advantage of the precision tools available in these editing apps. Use the trimming tool to cut and arrange clips with precision, ensuring a seamless flow in your vlog. Adjust audio levels to maintain a balanced sound throughout your video. These small details contribute to a polished final product that captivates your audience.
Integrate Music Thoughtfully
Music can significantly enhance the mood and impact of your vlog. Both iMovie and Kinemaster allow you to easily integrate music into your videos. When selecting music, consider the tone of your vlog and choose tracks that complement the content. Ensure that the volume is balanced, allowing your voice to be heard clearly. Thoughtful music integration can make your vlog more engaging and memorable for viewers.
If you’re looking for music that fits perfectly with your vlogs, check out our huge collection of playlists for all types of vlogs. Check out our ‘Dreamy Vlogging’ playlist or our article on ‘Choosing Music for your Vlogs‘!
Experiment with Effects
Add a creative flair to your vlogs by experimenting with effects. iMovie offers a variety of built-in effects like picture-in-picture and split-screen, while Kinemaster provides additional options for layering effects. Be mindful not to overuse effects; instead, use them strategically to enhance specific moments in your vlog and maintain a cohesive visual style.
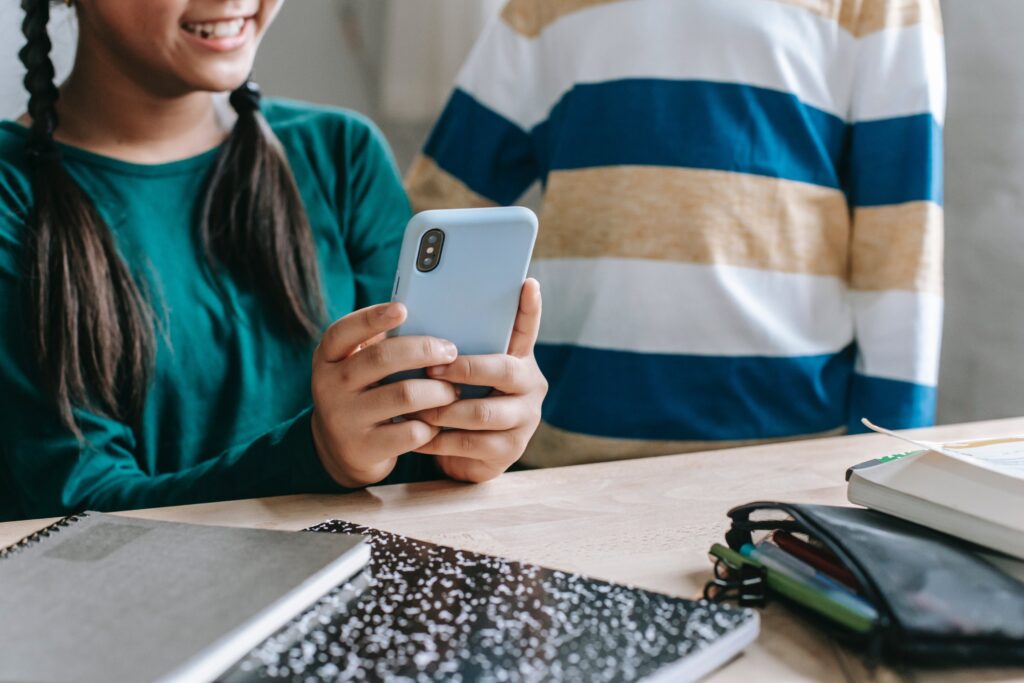
Optimise for Mobile Viewing
Given that your audience will likely be watching your vlogs on their mobile devices, it’s essential to optimise your videos accordingly. Check your vlog on various devices to ensure that text is readable, visuals are clear, and the overall viewing experience is enjoyable on smaller screens. This optimization ensures that your content remains accessible and engaging to a broader audience.
Export and Share
Once you’re satisfied with your edited vlog, it’s time to export and share your creation with the world. Both iMovie and Kinemaster provide straightforward export options, allowing you to choose the desired resolution and file format. Consider uploading your vlog to platforms like YouTube, Instagram, or TikTok, depending on your target audience. Crafting an engaging title and thumbnail can further enhance the visibility of your vlog.
In conclusion, editing vlogs on the iPhone is not only feasible but also empowering for content creators and influencers. By embracing the right apps, shooting with editing in mind, organising your clips, and leveraging built-in editing features, you now know how to edit vlogs on iPhone and create elevated content. Experiment with effects, integrate music thoughtfully, and optimise for mobile viewing to ensure your vlogs stand out in the crowded digital landscape. With these tips, you’ll be well on your way to mastering the art of vlog editing on your iPhone.