
Table of Contents
Creating engaging YouTube videos goes beyond having a good camera and microphone. Lighting plays a crucial role in producing high-quality content that captures your audience’s attention. This guide will walk you through why good lighting is essential, how to use natural light, the best lighting setups, and considerations before purchasing lighting equipment.
Why Do You Need Good Lighting for Videos?
Good lighting is vital because it enhances the visual quality of your videos. Proper lighting ensures that your content is clear, visually appealing, and professional-looking. It helps to highlight your subject, reduce shadows, and create the desired mood and atmosphere. Poor lighting can result in grainy, dark, and unprofessional videos, which can turn off viewers and reduce your channel’s credibility.
Can You Use Natural Light?
Yes, you can use natural light, and it’s a cost-effective solution for beginners. The best time to use natural light is during the golden hours—early morning or late afternoon when the sunlight is soft and diffused. Position yourself facing a window to get even, flattering light. However, relying solely on natural light can be challenging due to its inconsistency and dependence on weather and time of day.
5 Best Lighting Setup Items for YouTube Videos
1. LED Lights
LED lights are versatile and energy-efficient, making them a popular choice among YouTubers. These lights provide bright and consistent illumination, which is crucial for maintaining a professional appearance in your videos. LED lights are ideal for various video types, including tutorials, vlogs, and interviews. To set up, position LED lights at a 45-degree angle from your subject to avoid harsh shadows. Using a softbox or diffuser can help soften the light, creating a more flattering and natural look.
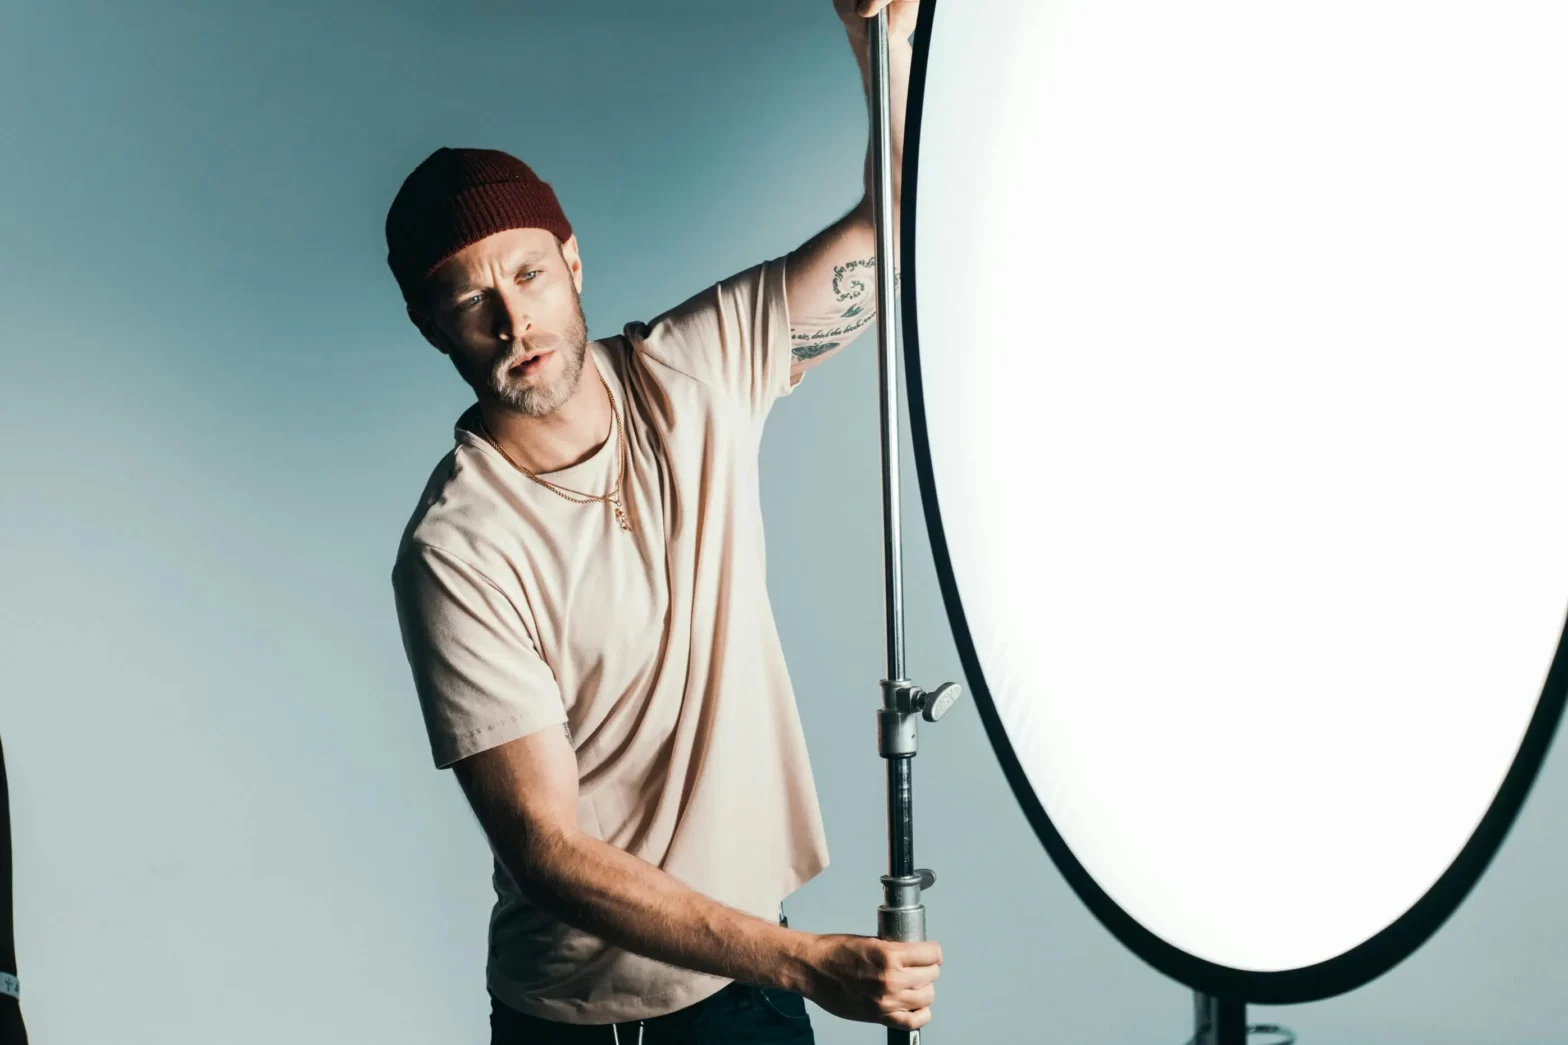
2. Ring Lights
Ring lights are circular lights that provide even lighting, reducing shadows and highlighting details. They are perfect for beauty videos, close-ups, and talking-head videos where a flattering light is crucial. To set up, place the ring light directly in front of your camera, with the camera lens positioned in the centre of the ring. Adjust the brightness to avoid overexposure, ensuring that your face is well-lit and evenly illuminated.
3. RGB Lights
RGB lights can change colours, offering creative lighting options for your videos. These lights are great for adding mood, accent lighting, or background effects, making your content visually engaging. To set up, use RGB lights to highlight your background or add a coloured rim light to create depth and visual interest. Experiment with different colours to match your video’s theme, adding a unique and dynamic touch to your content.
4. Softboxes
Softboxes diffuse light, creating a soft, even illumination that reduces harsh shadows and highlights. They are ideal for interview setups, product reviews, and any scenario requiring soft lighting. To set up, place softboxes at a 45-degree angle from the subject. Using one or two softboxes can minimise shadows and create balanced lighting, ensuring your subject is well-lit and the overall video quality is professional.
5. Umbrella Lights
Umbrella lights are portable and easy to set up, providing soft, diffused light that enhances the overall look of your videos. They are suitable for studio setups, portrait videos, and photography. To set up, position the umbrella lights similarly to softboxes, at a 45-degree angle. Depending on your lighting needs, you can use reflective or shoot-through umbrellas. These lights are versatile and can be adjusted to achieve the desired effect, making them a valuable addition to any lighting setup.
Things to Consider Before Buying Lighting Equipment
- Budget: Determine how much you are willing to spend. Affordable options are available, but investing in quality can save money in the long run.
- Space: Consider the size of your recording space. Some lighting setups require more room.
- Portability: If you plan to shoot videos in different locations, portable lighting equipment is essential.
- Compatibility: Ensure the lights you choose are compatible with your power supply and camera equipment.
Type of Lighting Setup for YouTube Videos
Basic 3-Point Lighting Setup
The 3-point lighting setup is a classic method used in film and photography to create a balanced and professional look.
3 Point Lighting Equipment:
- Key Light: The primary light source, placed at a 45-degree angle from the subject.
- Fill Light: Positioned opposite the key light to reduce shadows, usually softer and less intense.
- Back Light: Placed behind the subject to separate them from the background and add depth.
How to Set Up: Arrange the key light first, then the fill light on the opposite side, and finally the back light slightly above and behind the subject.
Basic 2 Point Lighting Setup
The 2 point lighting setup is simpler and works well for smaller spaces or tighter budgets.
2-Point Lighting Equipment:
- Key Light: Positioned similarly to the 3-point setup.
- Fill Light: Placed opposite the key light but softer to balance shadows.
How to Set Up: Place the key light at a 45-degree angle and the fill light on the opposite side. Adjust the intensity to ensure even lighting without harsh shadows.
Done with Lighting? Now Enhance Your Videos Through Music
Good lighting is just one part of creating captivating YouTube videos. Adding the right music can significantly enhance your content by setting the tone, evoking emotions, and keeping viewers engaged. Choose music that complements your video’s theme and style, ensuring it doesn’t overpower your voice or distract from the content. There are many royalty-free music libraries available online to find the perfect tracks for your videos.
Hoopr provides you with a wide variety of copyright-free music and sound effects for all your content! From travel vlogs to cooking videos and advertisements to short films, we’ve got something for everyone.
Good lighting is essential for producing high-quality YouTube videos that attract and retain viewers. Whether you’re using natural light or investing in professional equipment, understanding how to set up and utilise different lighting techniques can elevate your content. Consider your budget, space, and needs when choosing lighting equipment, and don’t forget to enhance your videos with suitable music. With the right lighting setup, you’ll be well on your way to creating visually appealing and engaging videos that stand out on YouTube.
Frequently Asked Questions:
How many lights do you need for YouTube?
The number of lights you need for YouTube videos typically ranges from one to three, depending on the lighting setup you choose. A basic setup can start with one key light, while more advanced setups often use a 2-point or 3-point lighting system, which includes a key light, fill light, and back light to achieve professional-looking results.
Why do YouTubers use ring lights?
YouTubers use ring lights because they provide even, flattering illumination that reduces shadows and highlights details, making them ideal for beauty videos, close-ups, and talking-head videos. The circular design also creates an attractive catchlight effect in the eyes.
What is the best light for content creators?
The best light for content creators is typically LED lights, as they are versatile, energy-efficient, and provide consistent, high-quality illumination suitable for various video types.
How do I choose the right colour temperature for my lights?
Choose the right color temperature for your lights based on the natural light in your environment and the mood you want to create. For a natural look, use lights around 5500K (daylight), while warmer tones (3200K) create a cozier atmosphere. Adjust according to your specific video setting and desired aesthetic.